Showing posts with label DIY. Show all posts

Monday

Diaper Cake

We just threw my sister-in-law a baby shower (post coming soon!) and I wanted to share the diaper cake I made! They're so easy to make and are a great present, centerpiece, etc.
What you need:
-Diapers (I used about 100)
-cardboard
-wrapping paper (optional)
-large rubber bands
-water bottles (optional)
-ribbon, embellishments, etc. 

Step 1: Cut out cardboard base and wrap with decorative paper (optional). I like to do this just in case some of the bottom ends up peeking out. To cut out a large circle, you can simply trace a household item (pots, pans, clock, etc.) or use the good old fashion pencil and string trick!


Step 2: Build up bottom layer. To save diapers, I bundled up water bottles to fill in the center. I've made diaper cakes before and added gifts as the center of each layer. You can put fun things like rolled up clothes, baby shampoo, etc. Rubber band the items together to keep them in place.
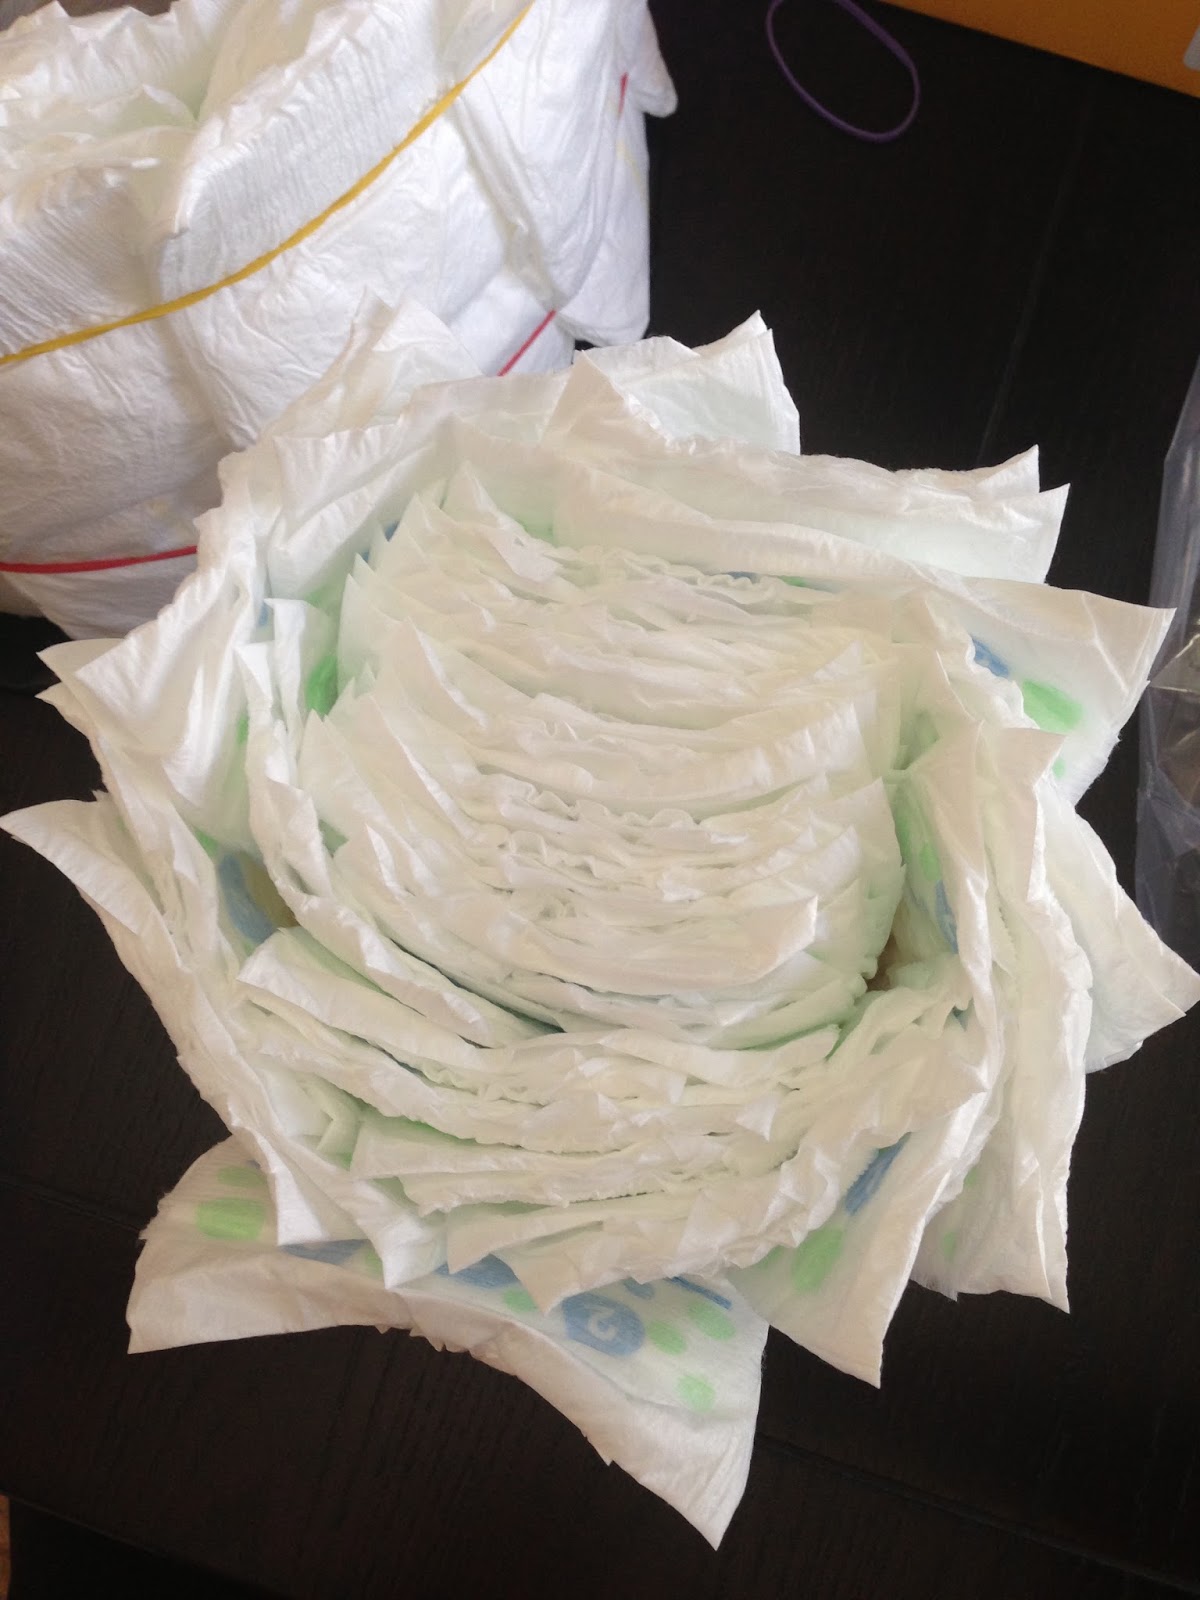
 Step 3: Build each layer up. Place a large rubber band around the core (water bottles) and tuck in diapers, slightly overlapping each diaper.
The beginning of the bottom layer.

Layers and layers of diapers!
Once you have a few layers of diapers and the the cardboard piece is covered in diapers to your liking, add an extra rubber band to the top for extra support.

Step 4: Secure a bundle of diapers, water bottles, baby items, etc. as a core for the next layer. I just used diapers. Use the same technique to overlap diapers securely under the rubber band until you've reached your desired fullness.


 Step 5: Add embellishments. I used the ribbon to cover up the rubber bands on each layer. Cute, easy, and fun to make!

Here's the end product! It turned out great. I can't wait to share the baby shower details soon!

Friday

Painting Fun Fact!

After countless gallons of paint that have gone into our house (I don't even want to attempt to count!) we've discovered a great way to preserve a little bit for touch ups. Rather than climbing up in the attic every time we need a drop of paint to cover up a little knick in the wall, we started storing small amounts in mason jars. It keeps the paint fresh and is easy to access.


Since our cutie pie puppies like to occassionally chew on our pergola, we always have this handy jar ready at all times. By labeling the jars, it makes life so much easier! 
 

Tuesday

More of What You Want!

I'm so blessed to have such wonderful fans and followers. My blog has been growing like crazy, and I never imagined anyone other than my mom would be reading my silly little blog. Well, you have proven me wrong! As always, I love your feedback!

I want to know what it is that you love about the blog? What is your favorite category to check out? What do you want more of?

-Classroom/Kids
-Decoration
-DIY
-Fashion
-Fitness
-Organization
-Party Ideas
-Pregnancy
-Products
-Q & A
-Recipes

Leave me some comments, or e-mail me, and let me know what you want to see more of! I can't wait to hear what you have to say! As always, thanks for following me and checking out my world!

Monday

Ultimate Teacher Binder

Last year I made a "teacher binder" and it turned into my bible! This year, I wanted to make another one that was even better than the last! Here's what you'll need to make your own teacher binder:
-fabulously cute binder (I got mine at Target)
-Dividers (I used file folders from Target and cut them in half)
-Labels

 I really love this binder because it has a handy dandy clipboard in the front! Good 'ol Target!
 Because I wanted cute dividers, I used file folders and cut them in half.


Most importantly is what goes into this self proclaimed bible. Here are my tabs:
-Student Info. (includes class list, parent contact info, IEP info, class schedules, etc.)
-Lesson Plans
-Calendar
-Journal Topics
-Website Passwords
-Staff Info.
-Standards
-Attendance records
-Misc.

I left extra dividers in the back so I can add things throughout the year. All of the essentials are in here and I can easily flip through it as needed. Love Love Love my binder :)

Tuesday

Backyard Makeover

We spent a good portion of our summer working on giving our backyard a little makeover. It's finally done and I couldn't be happier! Unfortunately, I forgot to take "before" pictures so you won't fully be able to comprehend the transformation, but just trust me when I say it looks 100 times better than before!

First, we decided to paint our patio. It was so cracked and just looked like a hot mess!
Hot mess!

Before

Let the painting begin!

Done!
Next, my handy dandy husband built a pergola.

This is my favorite purchase from Lowes.  I put three flameless outdoor candles in it and it's perfect!
I absolutely LOVE these moss covered letters. I reused these letters from our wedding and with some hot glue and moss, created these cute pieces!


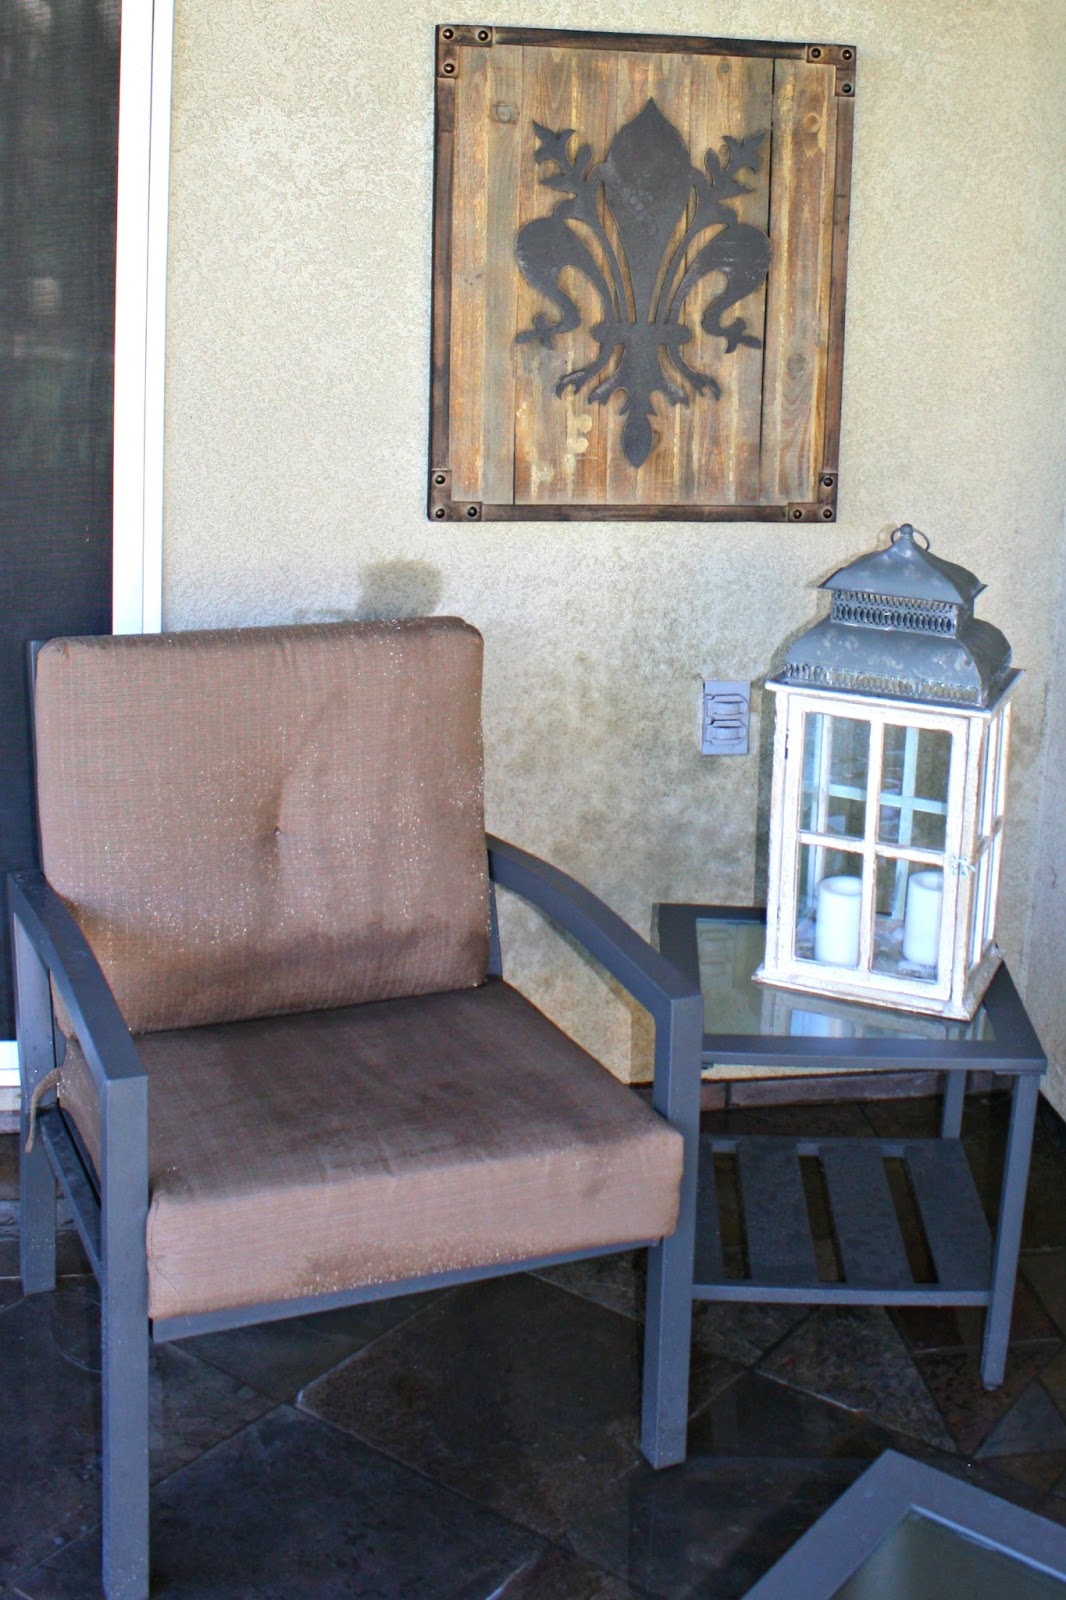
 We snagged a new patio furniture set at Target towards the end of the summer for a whopping 70% off! Whoop whoop! (Please excuse the horribly blurry picture. Oops!)
 The picture below is from Hobby Lobby and the lantern is from Pottery Barn.


 Ta Da! Done for the summer! Next summer we hope to add a built in BBQ area. It's been so great spending time outside and enjoying our nice backyard.

DIY Burlap Wreath


I've been itching to make a new wreath lately. I headed down to my local Hobby Lobby and purchased a whopping three items for this adorable wreath! The process was way easier than I thought it would be.

Here's what you need:
-2 rolls of 4 inch burlap
- Wire wreath template
-embellishments of your choice
 To make this wreath, simply loop the burlap through the desired section in the template.
Quite honestly, there's no right or wrong way to do this. I didn't stick to a pattern. I just looped away and pulled them through so there was enough fullness. SOOOOO easy! I don't even know how else to explain how to make this. It's something you just kind of figure out as you go.
One episode of Sex and the City later (Season 5 episode 6...if you were wondering) I was done!
Add whatever you would like and hang! I added a cute pre-made burlap flower.


Monday

Chalkboard Tracker

Happy four months to me! Starting to get a bump, although it feels more like a gut at this point. I'm sure by 20 weeks it will be nice and round!

 How far along? 16 weeks
 Baby is the size of a: Avocado
 Total weight gain: 4 lbs
Maternity clothes? Not yet.
Stretch marks? So far, so good!
Sleep: Waking up 2-3 times a night to go to the bathroom, but sleeping soundly!
Exercise: Just walking the dogs a few miles daily. Trying some yoga soon!
Miss Anything: Not having a gut!
Movement: Not yet! Hopefully in the next few weeks.
Food cravings: Spaghetti and bagels with loads of cream cheese.
Anything making you queasy or sick: Nothing anymore. I think that phase has passed, thankfully!
Gender: ??? We'll find out next week!
Labor Signs: No
Happy or Moody most of the time: Moody- my poor husband! But when I'm happy, I'm happy!
Looking forward to: Finding out the gender and buying the baby's first article of clothing!


We're finding out the gender next week! Stay tuned for our gender reveal party details! Can't wait!! Our theme is "Guns or Glitter?"

Definitely a difference from last month!

Tuesday

Chalkboard Tracker

I've seen this idea all over and think it's so cute! Rather than doing weekly pictures, I decided I'm just going to do one every month. A few weeks late, but here's my three month picture! I'll post my four month picture here shortly.